
One of the criteria I had when I moved my site to a new hosting provides was better access and control of the host server. A key step that I wanted was access to the server via secure shell (SSH). I know a lot of users who will use SSH to remote into a sever, but use their account password to remotely log in. I wanted to be able to access the server via SSH keys so I didn't have to enter my password for remote access.
Here are the steps to enable remote access via SSH keys to access a Linux webserver from your Mac. When you're done, you will be able to log into your server without having to enter your account password.
Create SSH Key Pair
The first step is to create the SSH keypair (one public and one private) on your Mac. Open a Terminal window and enter the following command:
ssh-keygen -t rsa -C "name@domain.com"
The -C option tells the key generation process to add additional information to the key pair. In this case I wanted to make sure my public key included my email address. You can drop the -C "name@domain.com" if you want, it will not affect the key generation process. Once you have entered the ssh-keygen command, you'll get a few more questions on where the keys should be stored.
Enter file in which to save the key (/Users/username/.ssh/id_rsa):
Just hit enter here to save the key file to your home folder.
Enter passphrase (empty for no passphrase):
I know you have the option to not enter a passphrase, but come on, if you wanted to go to the extent of creating SSH keys to access your server you should enter a good passphrase.2
Once the key generation is done, your terminal session should look like this: 1
bash_term1: ssh-keygen -t rsa -C "name@domain.com"

Generating public/private rsa key pair.
Enter file in which to save the key (/Users/username/.ssh/id_rsa):
Enter passphrase (empty for no passphrase):
Enter same passphrase again:
Your identification has been saved in /Users/username/.ssh/id_rsa.
Your public key has been saved in /Users/username/.ssh/id_rsa.pub.
The key fingerprint is:
4a:dd:0a:c6:35:4e:3f:ed:27:e3:9e:ac:bb:f1:b1:8a name@domain.com
The key's randomart image is:
+--[ RSA 2048]----+
|        .oo.     |
|         .  o.E  |
|        + .  o   |
|     . =.= .     |
|      =   = .    |
|     o + E +     |
|      . o . o .  |
|           . o   |
|                 |
+-----------------+
The public key has been saved to /Users/usermame/.ssh/id_rsa.pub There is also a private key that is generated (private keys should not be shared) which has been saved to /Users/username/.ssh/id_rsa. 3
Share Public Key
Once the SSH keypair has been created, you need to get the public key onto your server. Your server will have a file, authorized_keys, with a list of public keys the server knows are safe to use. The cumbersome way would be to cut/paste the key from your Mac, cat ~/.ssh/id_rsa.pub | pbcopy, then take the contents of the clipboard and get them into the authorized_keys folder on your server.
The easier way to combine a couple of terminal commands to create/append the authorized_keys folder. The following command will list the contents of your public key file, id_rsa.pub, connect you to your server via SSH, and create/append the authorized_keys file.
cat ~/.ssh/id_rsa.pub | ssh username@192.168.1.100 "mkdir -p ~/.ssh && cat >> ~/.ssh/authorized_keys"
You will need to modify the command with your actual username and IP/URL address. Enter your account password when prompted (it will be the last time you have to do this) to allow the command to connect to your server to append the authorized_keys file. After hitting enter, your Mac will connect to the server and add your SSH public key.
Connect to Server
After appending the authorized_keys file, you will be able to remote connect to your server without having to enter your account password. Open a new Terminal window and remote access your server:
ssh username@192.168.1.100
When you connect to the server you will see the a dialog box pop-up asking for your passphrase, not your password.
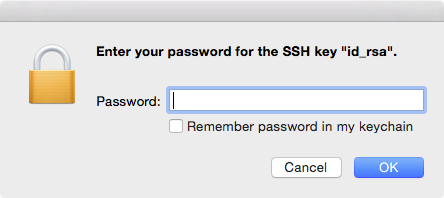
Enter your passphrase and your Terminal session will connect you to your server.4
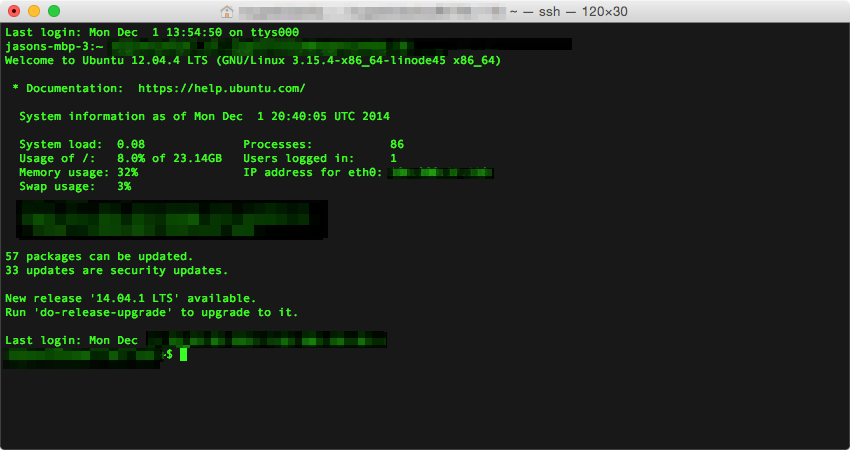
Boom! Now you can connect to your server without having to enter your password.
-
Reasons for the ASCII art in SSH key generation.. ↩
-
Don't use your account password as your passphrase. That's the whole point to this excercise. ↩
-
The dialog box may not appear again if you leave your OS X keychain unlocked. ↩