
This is a quick guide on how to write a Raspberry Pi distro image to a new SD card from the command line on OS X. The original steps are from an elinux.org article that I've updated for my own reference.
- Select the Raspberry Pi image you want to setup on your SD card.
- Once the image is downloaded, open a Terminal window and move to folder the image was downloaded to. Typically this will be the
Downloadsfolder. -
Before inserting the blank SD card, run the following command to get a list of mounted drives:
df -hThis will give an output something like this:
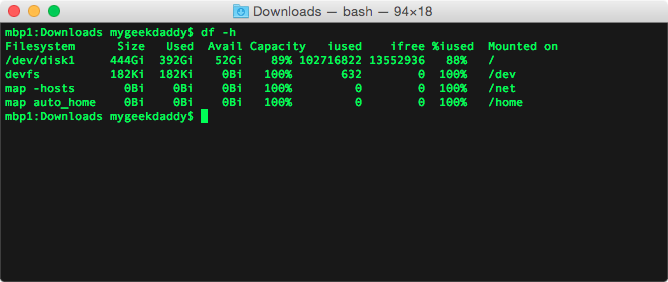
Make a quick note of what is currently mounted on your Mac.
-
Insert the SD card and run the
df -hcommand again. Look for the differences from the two commands to identify where the SD card was mounted.
In this case the SD card was mounted at
/dev/disk2s1.
-
Now unmount the SD card with the following command - don't remove it.
sudo diskutil unmount /dev/disk2s1This will keep the main SD card attached, but allow the next command to write the Raspberry Pi disk image to the SD card.
-
Make a note on where SD card was mounted to work out the raw device name. In the example above, the SD card was mounted at
/dev/disk2s1, so the raw device name would be/dev/rdisk2. The raw device name will be used as part of the image write command. -
In the terminal, use the following command to write the downloaded image to the SD card. This will use the raw device name as determined in the previous step.
sudo dd bs=1m if=raspi_image_name.img of=/dev/rdisk2
-
After the
ddcommand finishes, eject the card:sudo diskutil eject /dev/rdisk2 -
Pull the SD card out of your Mac and insert it into your Raspberry Pi.
The content on this page is available under a Creative Commons Attribution-ShareAlike 3.0 Unported License unless otherwise noted.