
Each holiday season I try to find new and unique ways share updates from the previous year with my family and friends. This year I'm bringing a mobile website to my family. I have a small Raspberry Pi that will be loaded with pictures and posts of family events from the previous year. My plan is to plug the Raspberry Pi onto their network and then let my family browse through the site as they wish. This way if there are pictures they want to keep, it's a simple click for them to download to their computer, phone or tablet. This keeps family pictures and updates on your own private network.
So here's a simple setup to have a mobile family blog.
Basic Requirements
The core requirement of this project will be a working Raspberry Pi. The project I have running right now is on an older Raspberry Pi B. Earlier this fall the Raspberry Pi B+ was released and these directions will work on a B+ model just as well.3 The setup I have uses the Raspian Linux OS and that's what is shown in the example setup below.
Going forward I've assumed you have a Raspberry Pi B/B+ that is up and running. Boot up your Rasp Pi and log into the command line. Run the following commands to make sure your Rasp Pi is up to date.
sudo apt-get update
sudo apt-get upgrade
After installing any required updates, reboot your Rasp Pi and then we're ready to begin.
Install Apache2
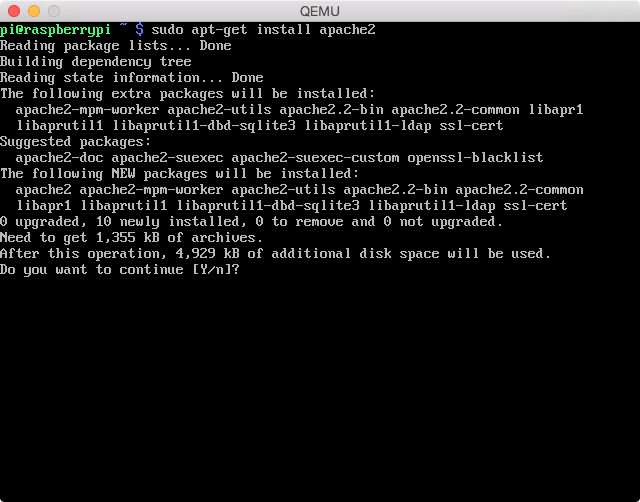
First up is getting an Apache web server running on your Rasp Pi. This will be a version of Apache just like one that is used to serve up web pages on the internet. To install Apache, run the following command:
sudo apt-get install apache2
This will initiate the package installation of the Apache2 web server.
As part of the installation of Apace 2, the installation process will also create a new folder, /var/www, to host the files to be served up by Apache. From here we can start the Apache2 service to serve up the default index.html page.
sudo service apache2 start
Run lynx2 to view the web page from the command line, you should see something similar to this:
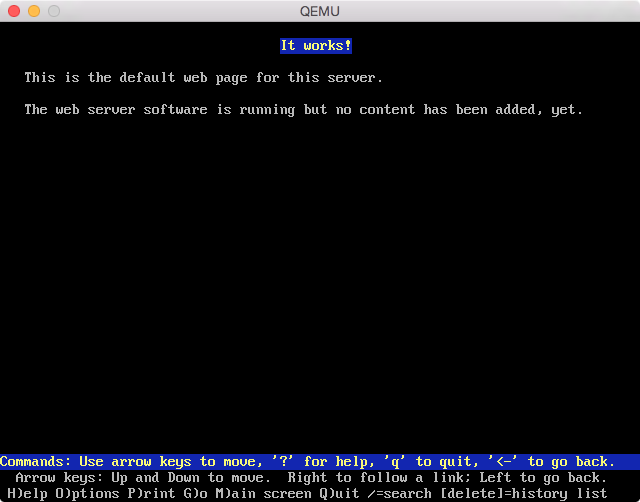
We now have an Apache web server up and running on your Rasp Pi.
Install pip
A lot of the work involved installing Pelican will be around a Python based package manager called Pip. If you use your Rasp Pi often, there's a good chance you already installed Pip. If you haven't, you need to download the initial setup file first. Run the following command to download the initial setup file:
wget https://bootstrap.pypa.io/get-pip.py
This will download the core installation file for Pip.

The next step is to run the initial setup file for Pip.
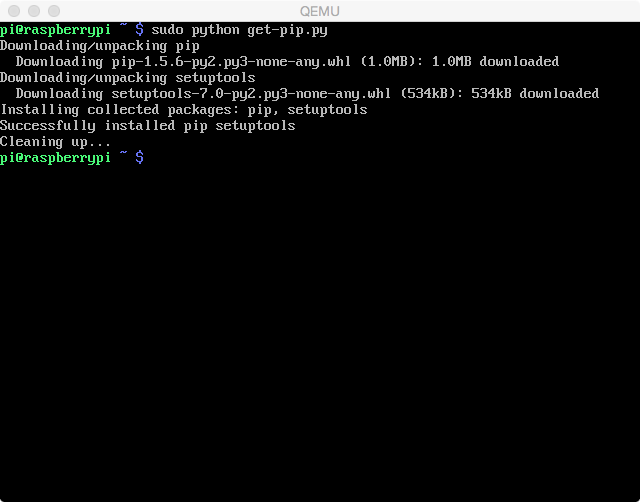
sudo python get-pip.py
This command will initiate the download of the installation files needed to install Pip. As part of the setup for Pip, another package called Setuptools will also be installed.
After the installation is complete, you can verify everything is working by entering sudo pip --version for Pip to return what version has been installed.
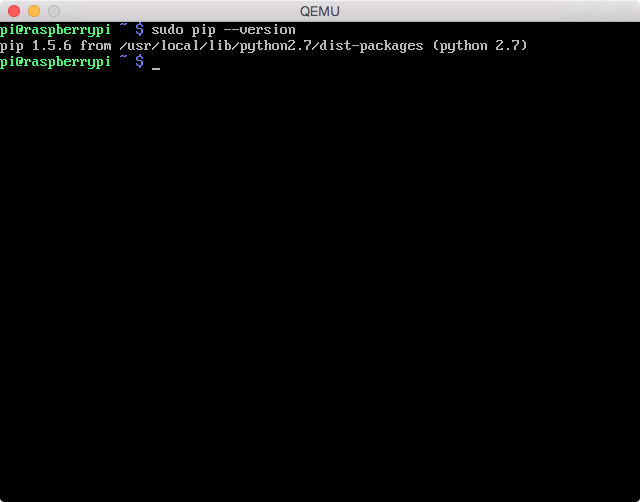
This confirms Pip has been installed and is working correctly.
Install Pelican
Now that Pip is installed, we can start installing the secondary packages to get Pelican up and running on your Rasp Pi. Run the following command to start the installation of Pelican on your Rasp Pi
sudo pip install pelican markdown typogrify
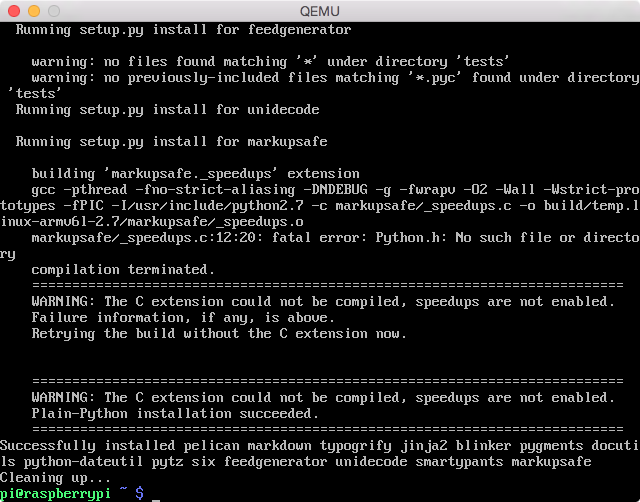
This will initiate the package installation for Pelican, Markdown, and Typogrify. The Markdown package is used to translate .md to .html. The Typogrify is actually an optional package because it creates highlighted code syntax in the generated .html files. The installation of these package will install some additional packages due to package dependencies. So don't be surprised if you see some packages like jinja2 or pygments also getting installed.
Once the package installation is complete should get a notification from Pip at the command line similar to this:
Apache Setup
After the installation is complete, we need to tell Apache to serve up the web pages from the correct location. Change folders to /etc/apache2/sites-available. These are the default site configuration files that Apache has for enabling new websites to be served up. Run the following commands:
sudo cp default raspiweb
sudo nano raspiweb
The second command will open a nano editor to modify the raspiweb configuration file. You want to update the 4th line for the DocumentRoot variable:
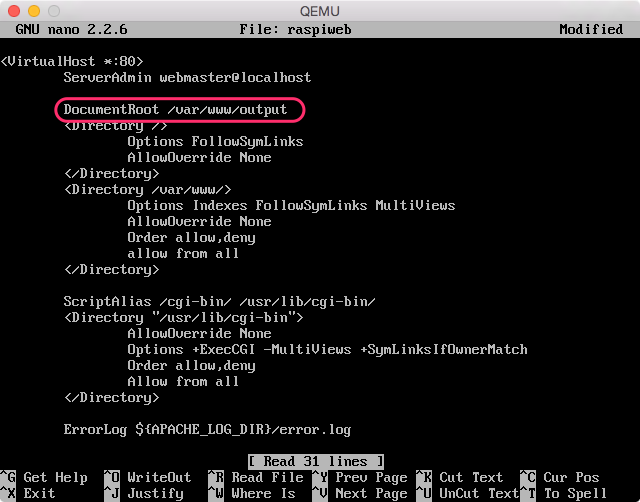
Save the changes in nano and close the document. Now you need to promote the available site to be available to Apache run:
sudo a2ensite raspi
You can ignore the service apache2 reload notice because we have one more change to make. Change folders to /etc/apache2/sites-enabled. By default Apache will enable a generic page after it is installed and loaded for the first time. However, that default configuration is also on port 80 and we need to disable it so the Pelican site can be the primary web page. Run the following command:
sudo a2dissite 000-default
You'll get the same reload warning, but this time you should restart the apache web service:
sudo service apache2 reload
You now have Pelican installed on your Raspberry Pi.
Pelican Setup
After getting Pelican installed If you happen to check your webpage after getting Pelican installed, you'll notice that you get an empty page. We still need to do some configuring of Pelican to set up the static page engine.
Change folders to /var/www and run the following command:
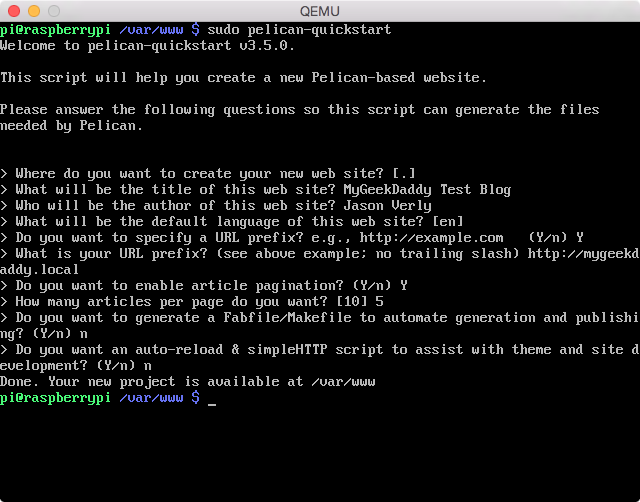
sudo pelican-quickstart
This will initiate the Pelican setup and guide you through some questions that need to be answered. Read through Pelican's Quick Start Guide for more details on Pelican's initial setup.
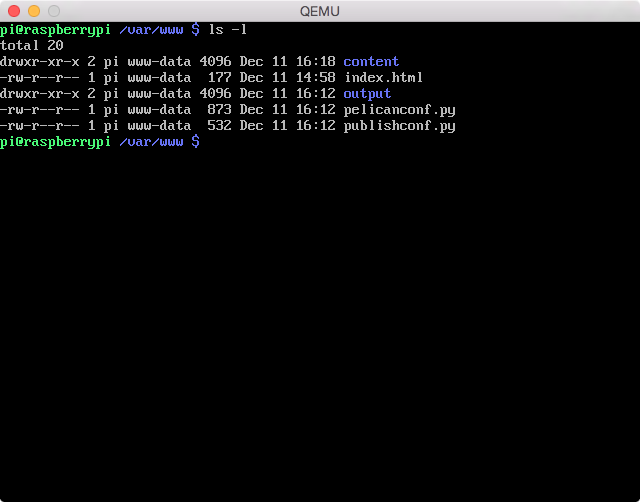
Out of the box, the files created in the /var/www folders are assigned to the root user and group. This happens because we used the sudo command to install the Apache and Pelican packages. Go to the /var folder and run the following commands:
sudo chown pi /var/www/*
sudo chgrp www-data /var/www/*
This will change ownership of the /var/www folder to user pi and group www-data
Next we want to make sure user pi' is also part of the www-data group. Run the following command to add a user to an existing group:1
sudo usermod -a -G www-data pi
At this point Pelican is setup and ready to go.
Test Run
We need to add a quick test post to the content folder. Change folders to /var/www/content and use nano to create a new file named firstpage.md:
title: Pelican Test Page
tags: Pelican, Python, Raspberry Pi
category: RaspPi
date: 2014-12-10 19:17

This is a test page from my Raspberry Pi.
Move up one folder to /var/www and run the pelican content command. Pelican will convert the Markdown file you created in the content folder to an HTML document in the output folder.
Enter the IP address of your Raspberry Pi in your computer or tablet, and you will see an out of the box Pelican theme rendering the test page.
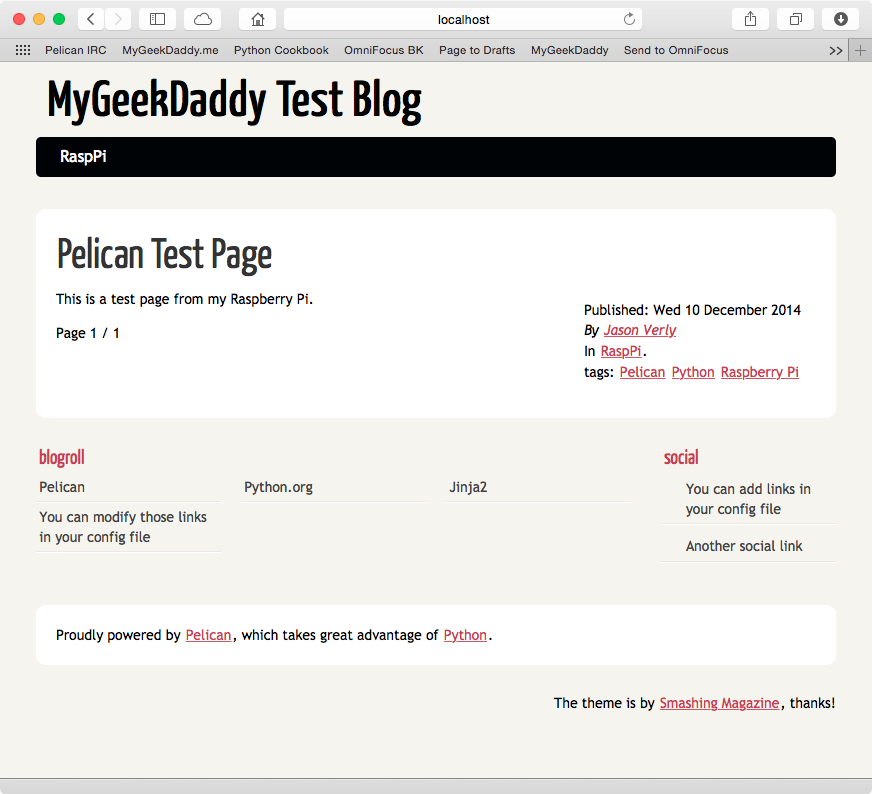
Now you have a fully functioning Pelican website running on your Raspberry Pi.
From here you can take the Rasp Pi, plug it into your family's network and have everyone browse your mobile website.
-
Note: make sure that's a capital
-Gin theusermodcommand. ↩ -
I used
lynxbecause most of the setup is from the command line and I didn't necessarily have to start up LXDE, the default window manage for Raspian. ↩ -
The Raspberry Pi A and A+ are also options, but I have not tested out the directions on either unit myself. ↩