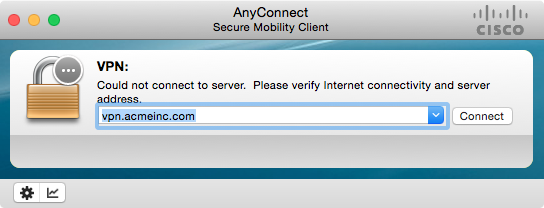
Working in a mixed desktop environment is eventually going to land you with a VPN client on your Mac. With the predominance of Cisco routes in the enterprise environment, this is mostly likely the one you'll see. The OS X Cisco client looks like this when you first open it.

So what happens when you leave on Friday working for Acme Inc. and find out you work for Beta Corp on Monday? Here's how to change the default VPN connection setting on the OS X Cisco AnyConnect client.
- Open a Terminal window and run the following command:
open -a textastic ~/.anyconnect. -
This will open the default configuration file for the Cisco AnyConnect client in Textastic.1 The default file will look like this:
<?xml version="1.0" encoding="UTF-8"?> <AnyConnectPreferences> <DefaultUser>verlyj01</DefaultUser> <DefaultSecondUser></DefaultSecondUser> <ClientCertificateThumbprint>EC5797GJ844479J02131510EC71AF3D44BE72B2956</ClientCertificateThumbprint> <ServerCertificateThumbprint>EC2CBED20511170EA4560039AECDED3E23002C53</ServerCertificateThumbprint> <DefaultHost>vpn.acmeinc.com</DefaultHost> <DefaultGroup></DefaultGroup> <ProxyHost></ProxyHost> <ProxyPort></ProxyPort> <SDITokenType></SDITokenType> <ControllablePreferences></ControllablePreferences> </AnyConnectPreferences> -
Change is the
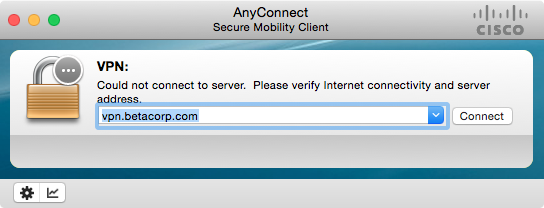
<DefaultHost>vpn.acmeinc.com</DefaultHost>field. Update this to the new the new VPN server settings:<DefaultHost>vpn.betacorp.com</DefaultHost>. -
Now start the Cisco AnyConnect client and the default will now be updated.
-
Replace your favorite text editor in this command. ↩

