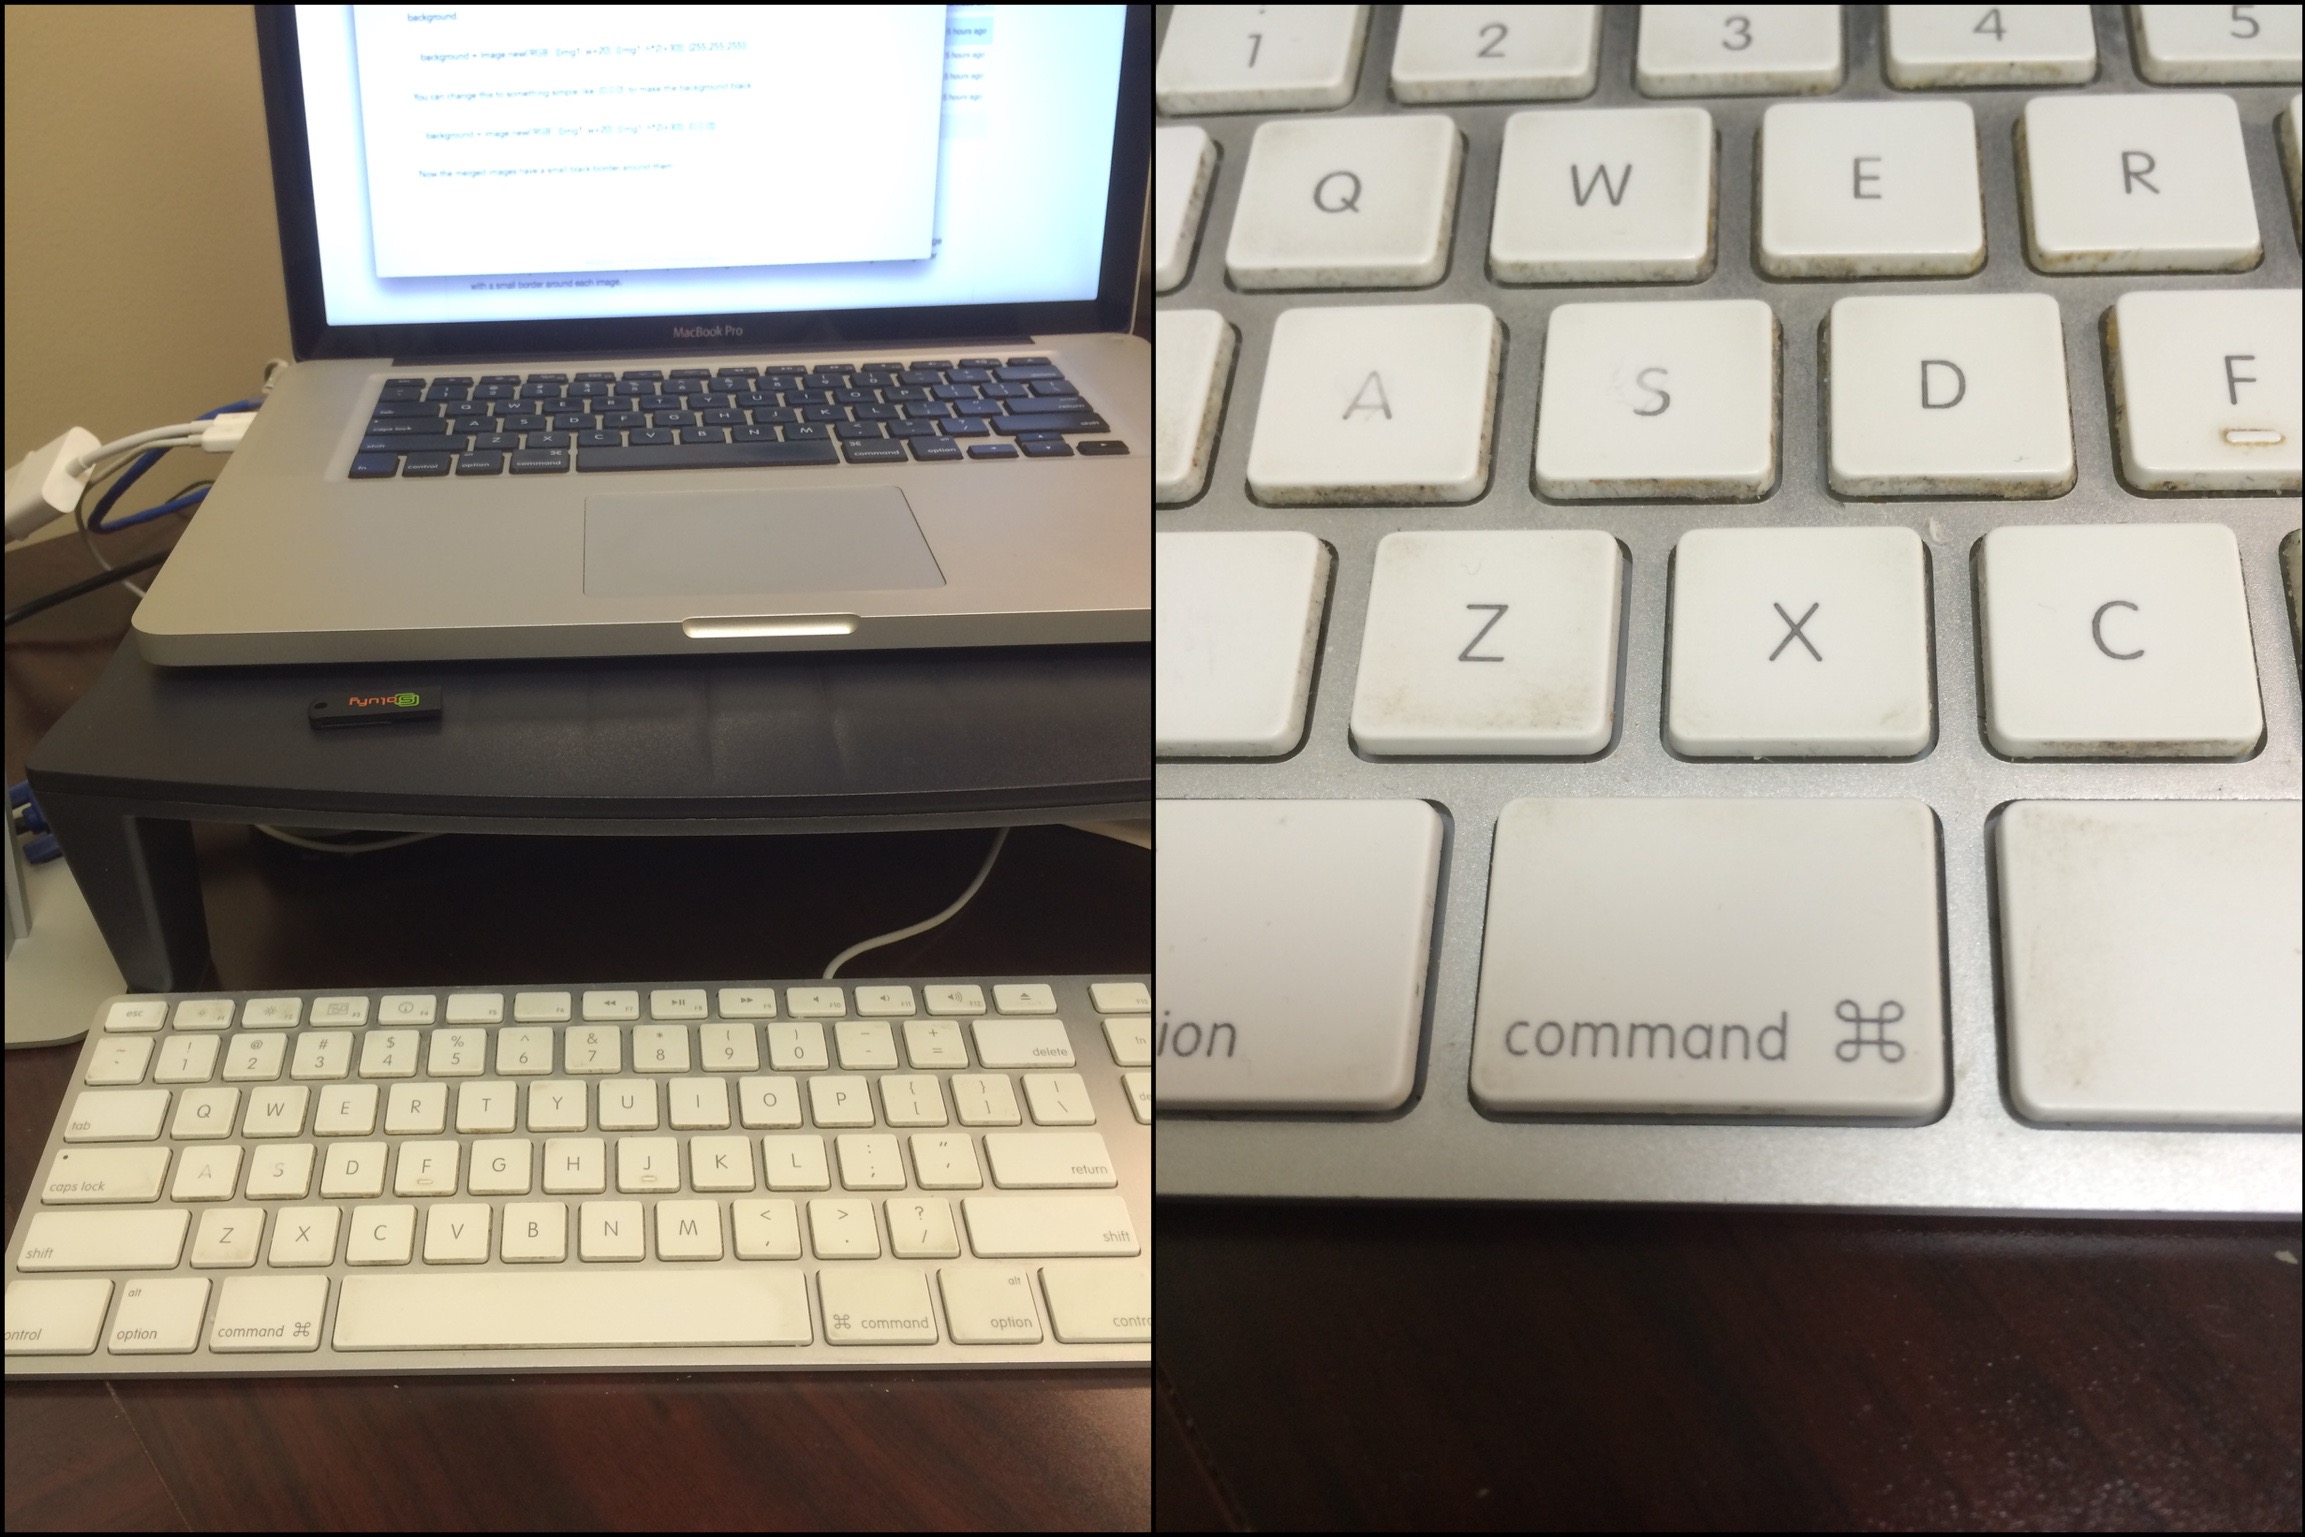
A common task I have with my job is to do a post project inspection and create a report on my findings. This process involves looking at equipment that's been installed as part of a project, document how well the equipment is working, or investigate why the equipment isn't performing as expected. The reports I write need to be understood in the future, so parts of the report will be photos of the equipment that was installed. A problem I was running into was I would typically get an image and comment in the report that looked like this:
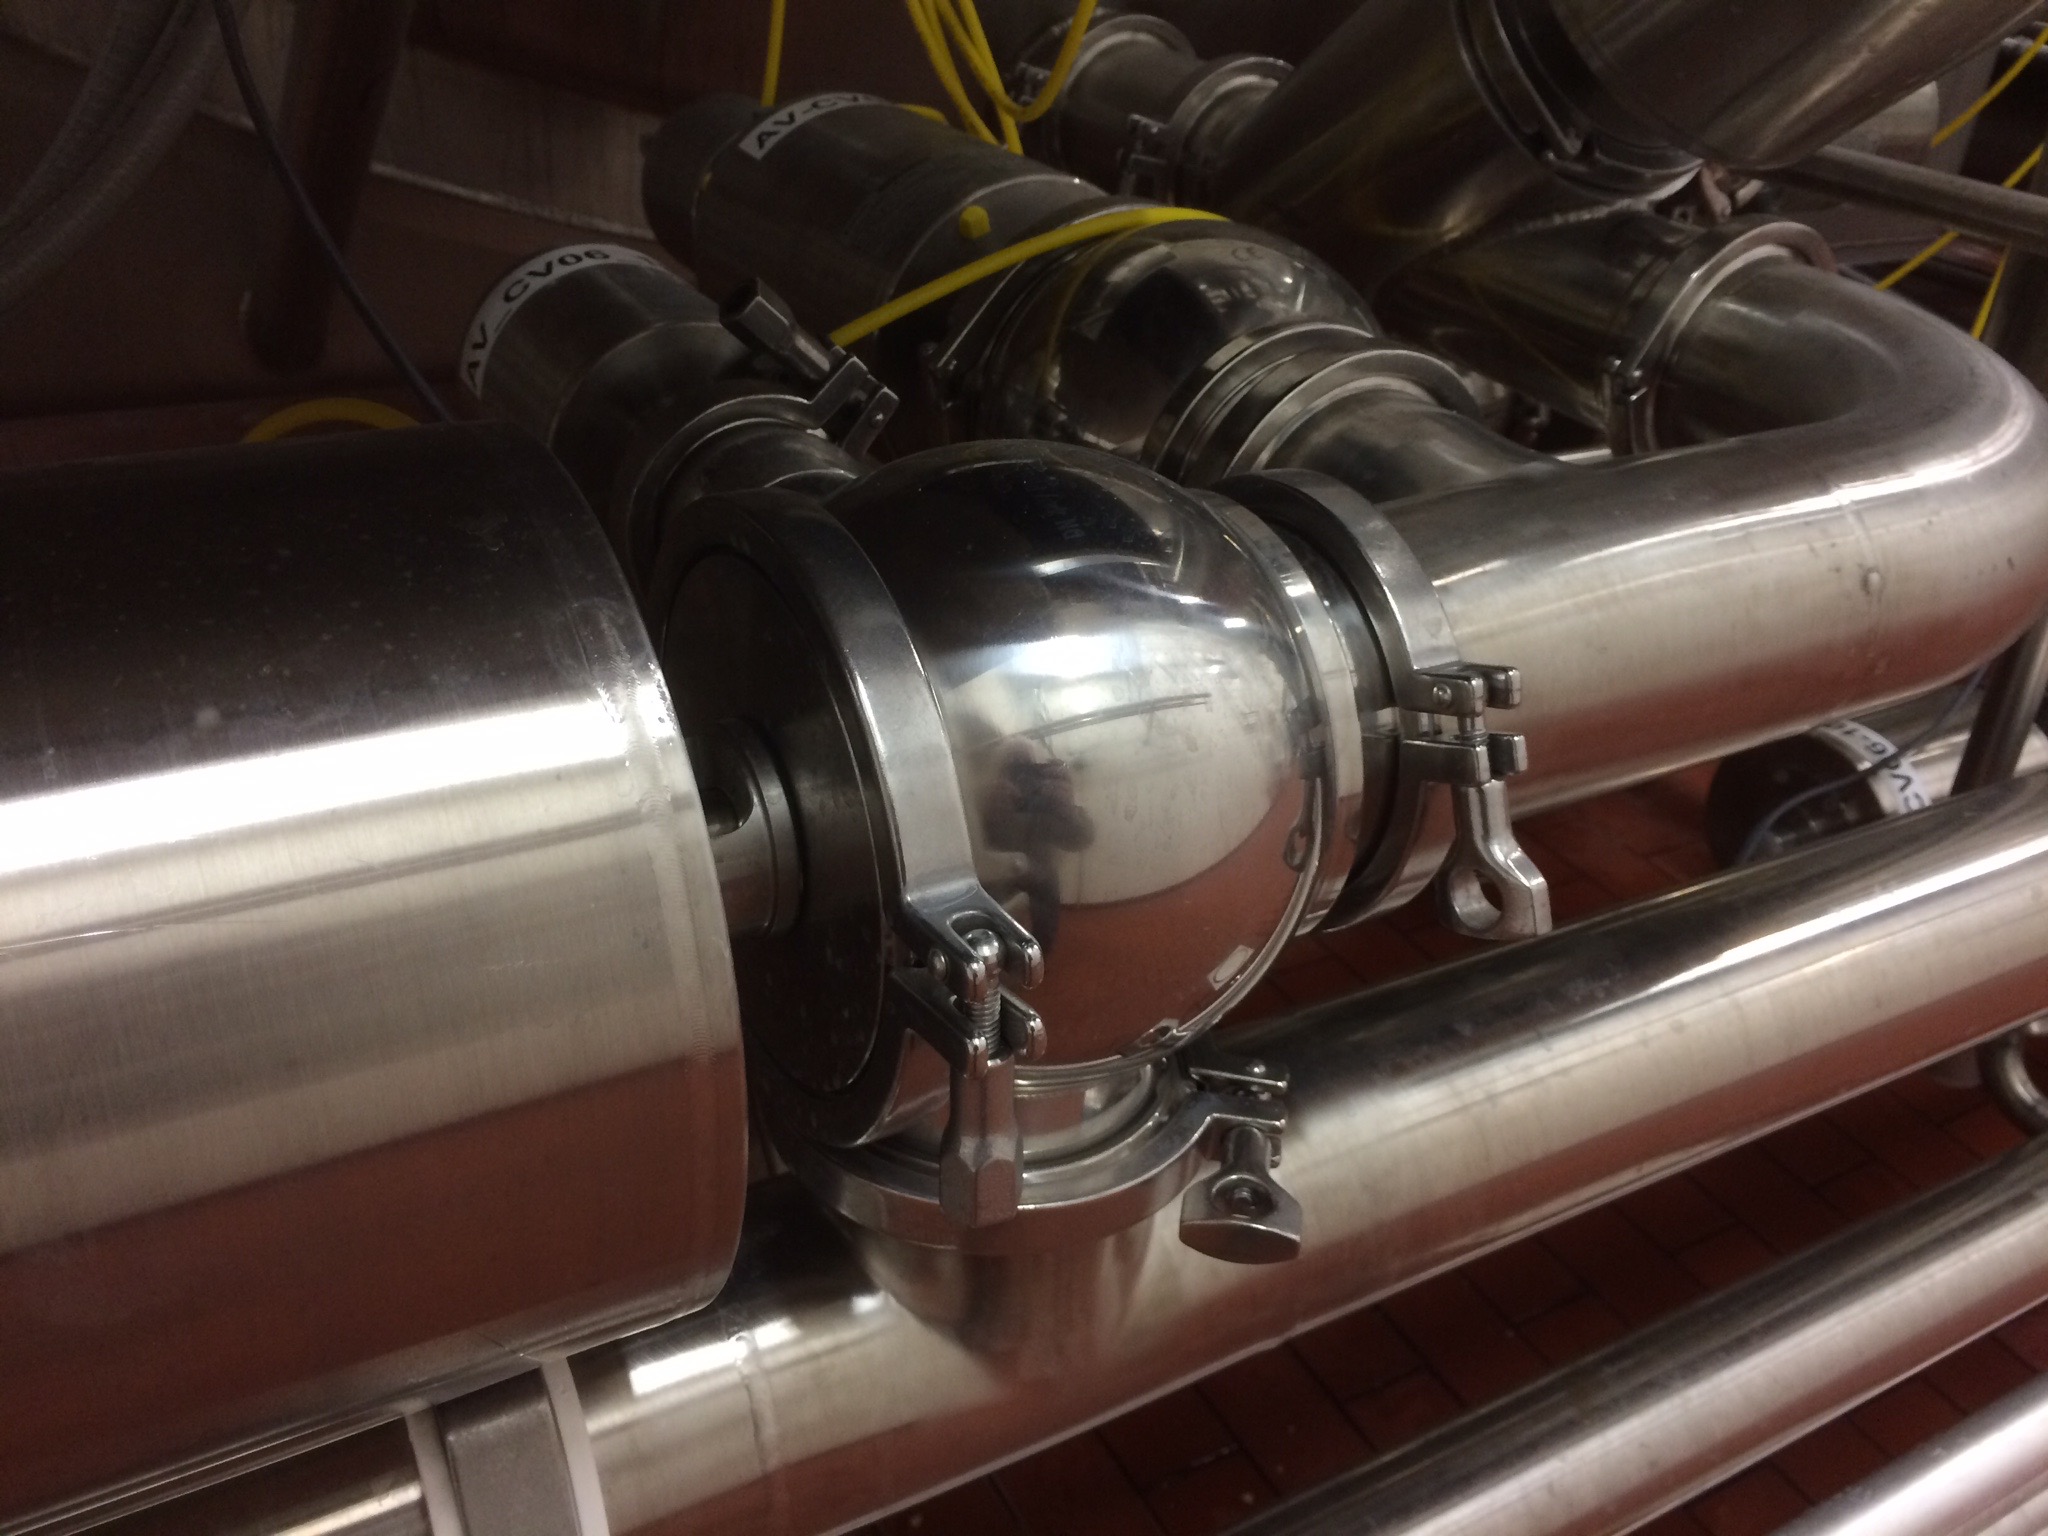
Sanitary valve on end of tank.
This worked great for the first week or two after I had taken the picture and the report information was fresh in my head. However I once had to go back to a report from about 6 years prior and I couldn't make heads or tails on what a couple of photos were taken of. After this head scratcher I started using two pictures to give some context of where/what a photo was taken.
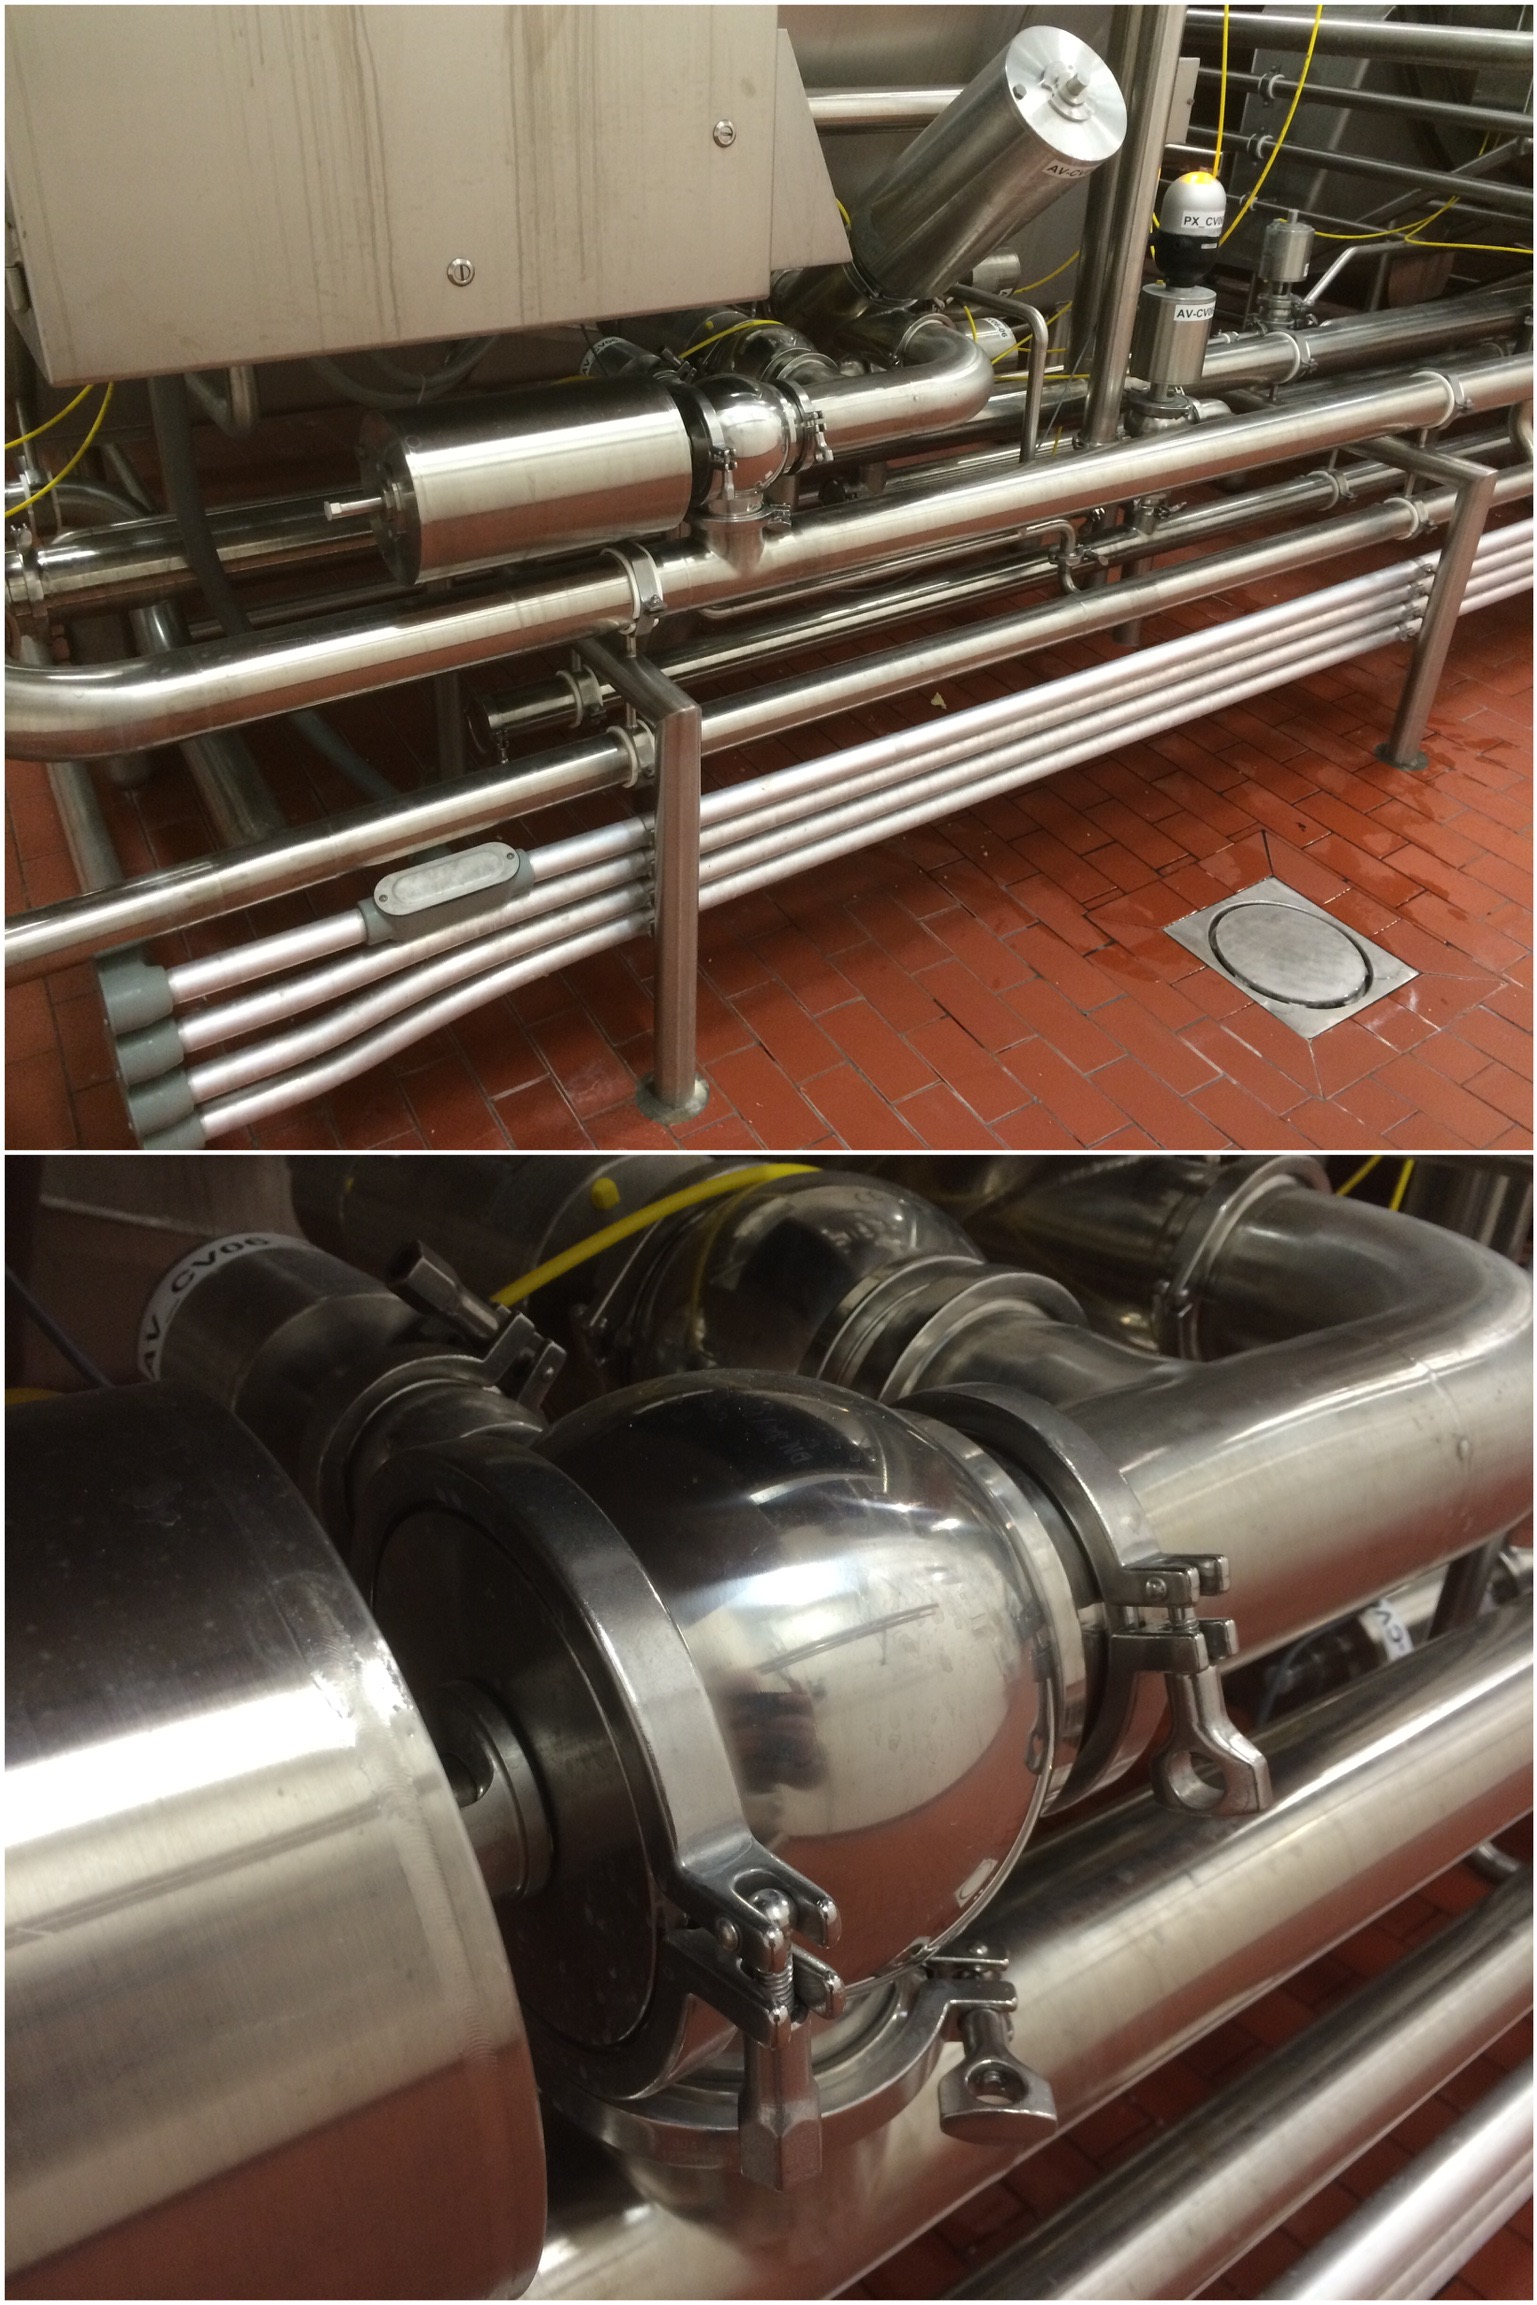
Sanitary valve on end of tank.
Previously doing this merge would require time in a photo editor to get a single image. About a year ago I moved this process over to Pythonista. The script would allow me to pick two images and merge them into a single image. After doing this repeatedly, I finally put a script together to do all the heavy lifting of taking the two pictures and then merging them together.
Mix and merge
The script runs in Pythonista 1 and does three quick steps:
- Asks you to take the first photo.
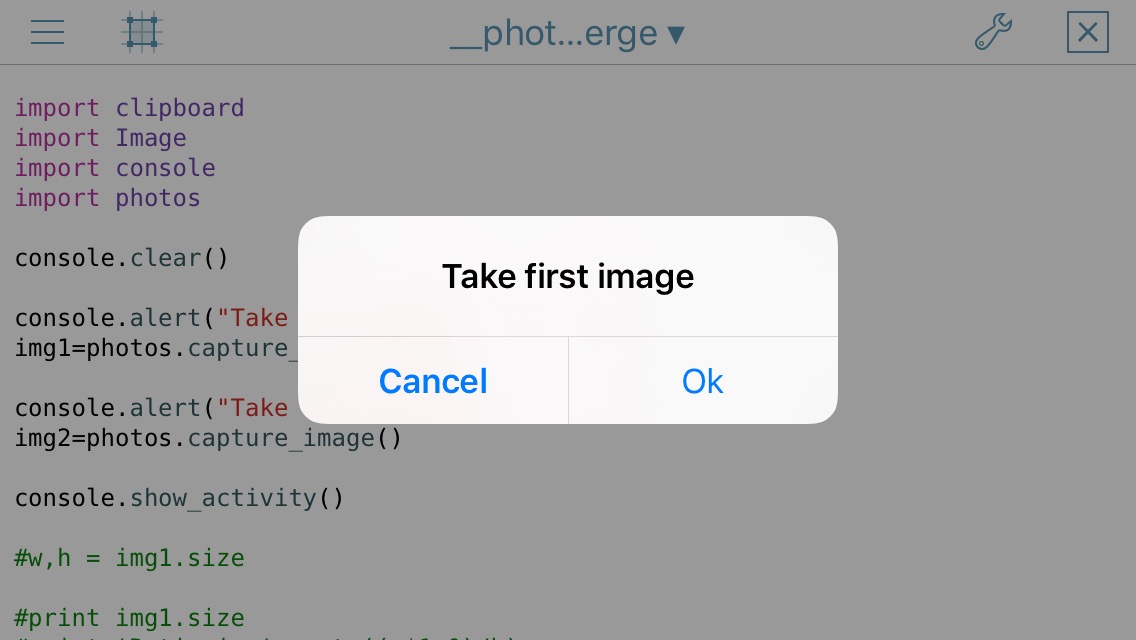
- Asks you to take the second image.
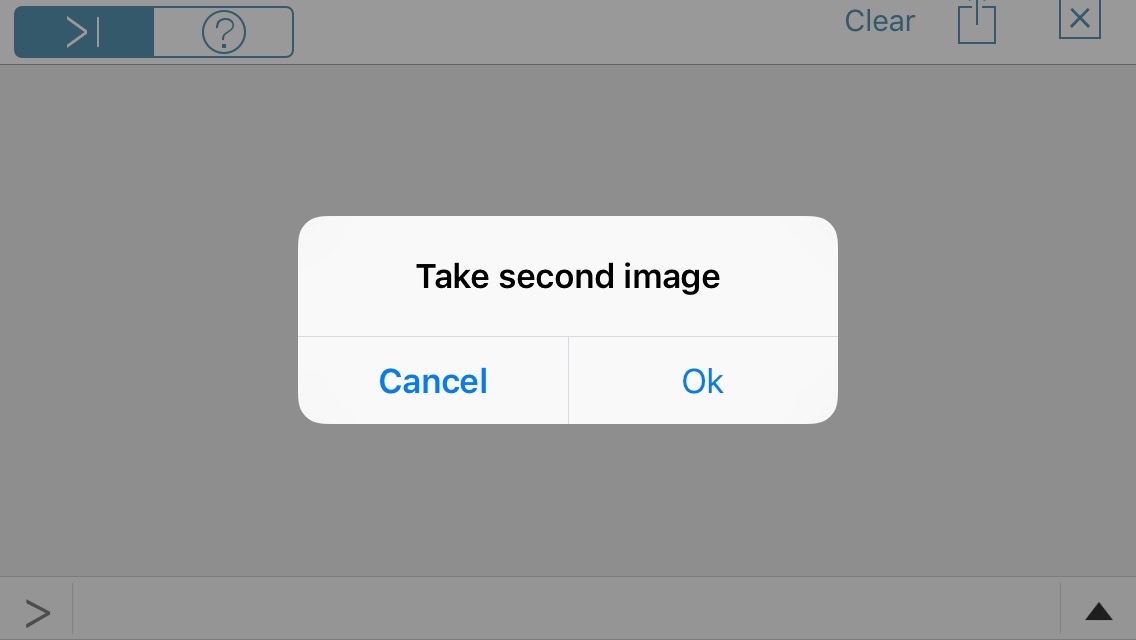
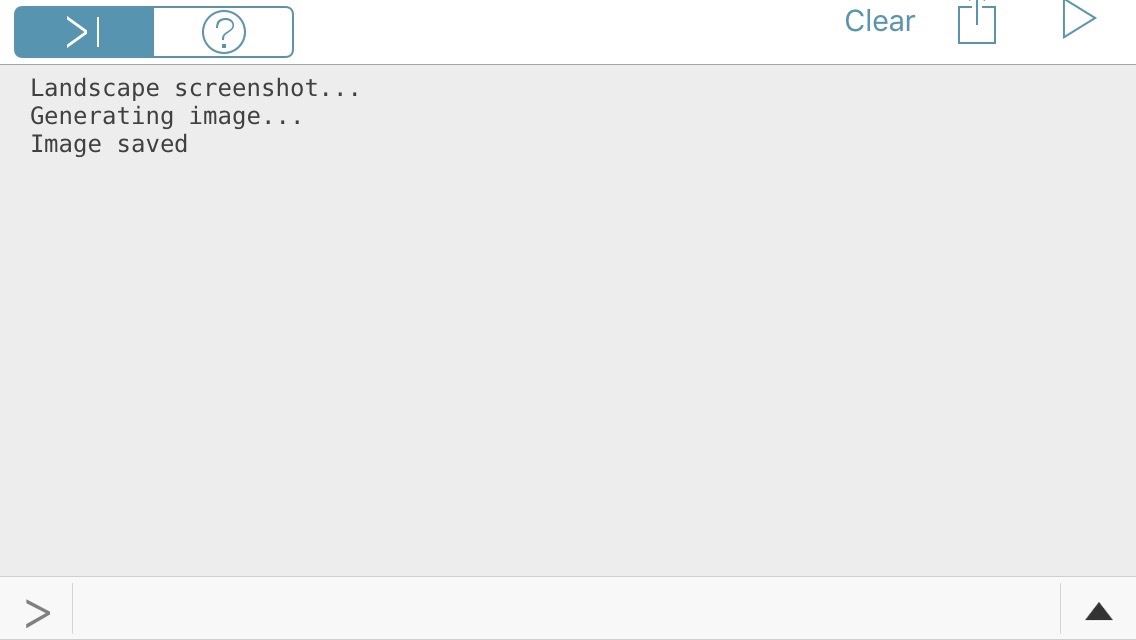
- Then it merges the two images together.
The final result looks like this.
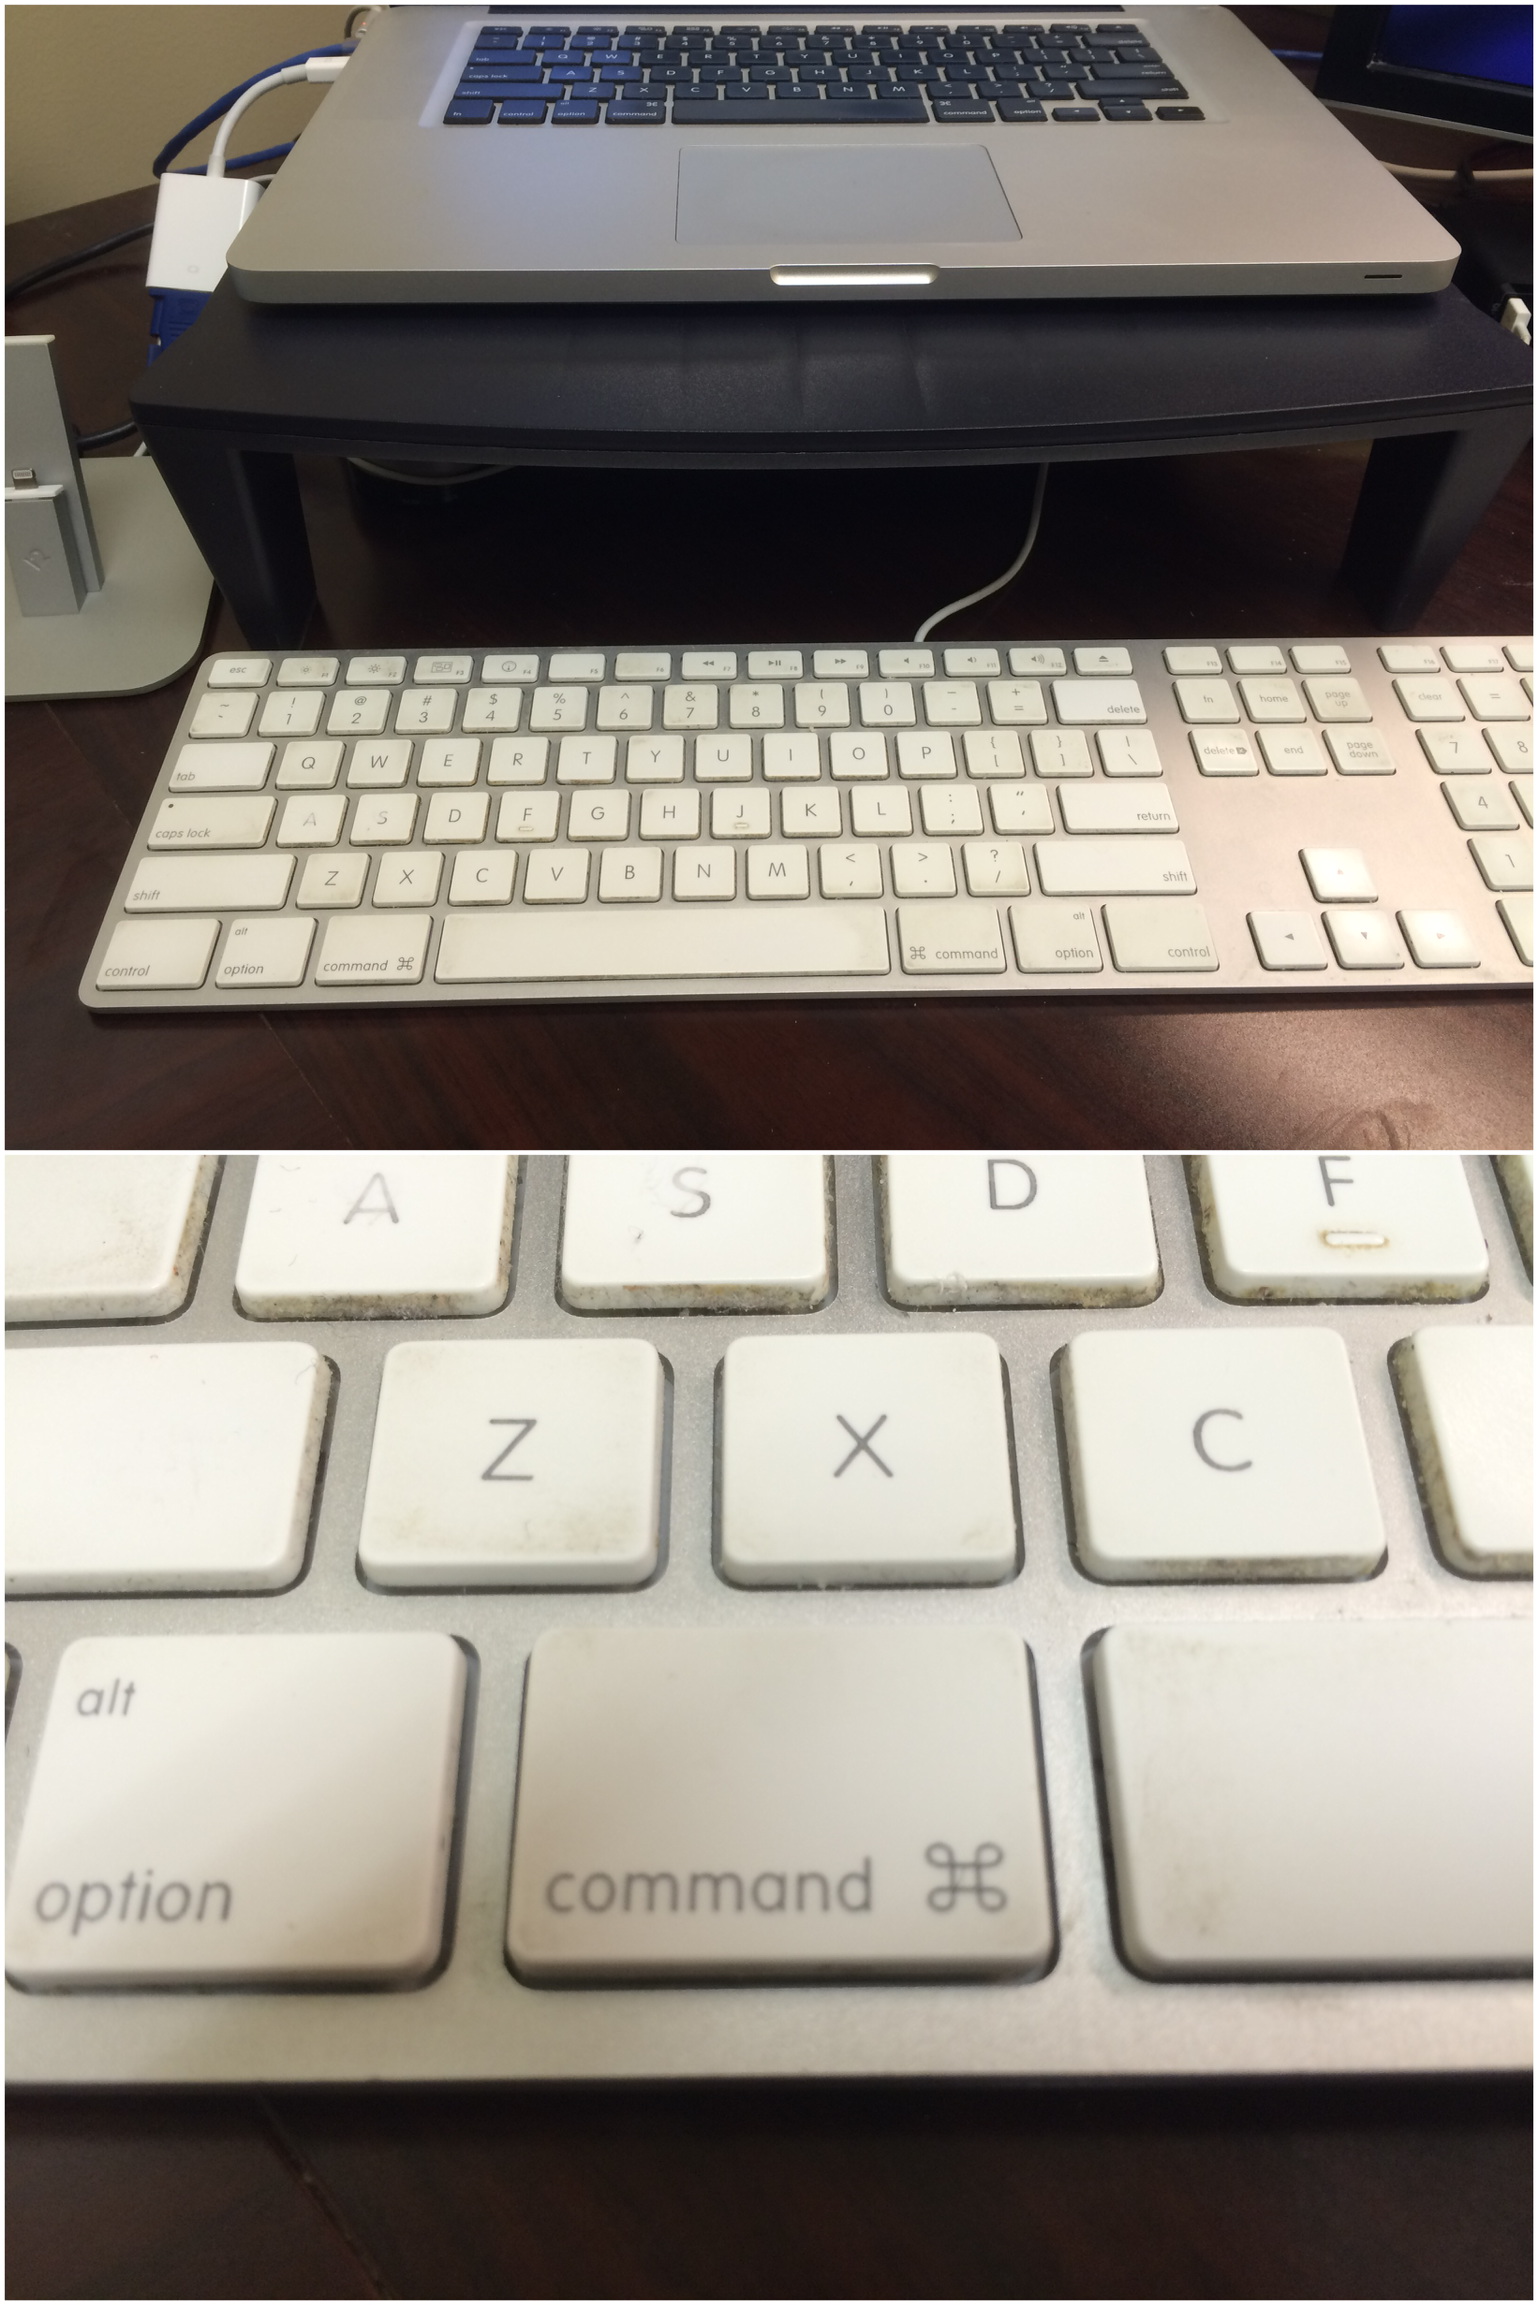
Photo error handling
In the event I accidentally took one image in landscape and the other in portrait, the script will alert me to the error and not save anything so my camera roll isn't filled with badly merged images. 2
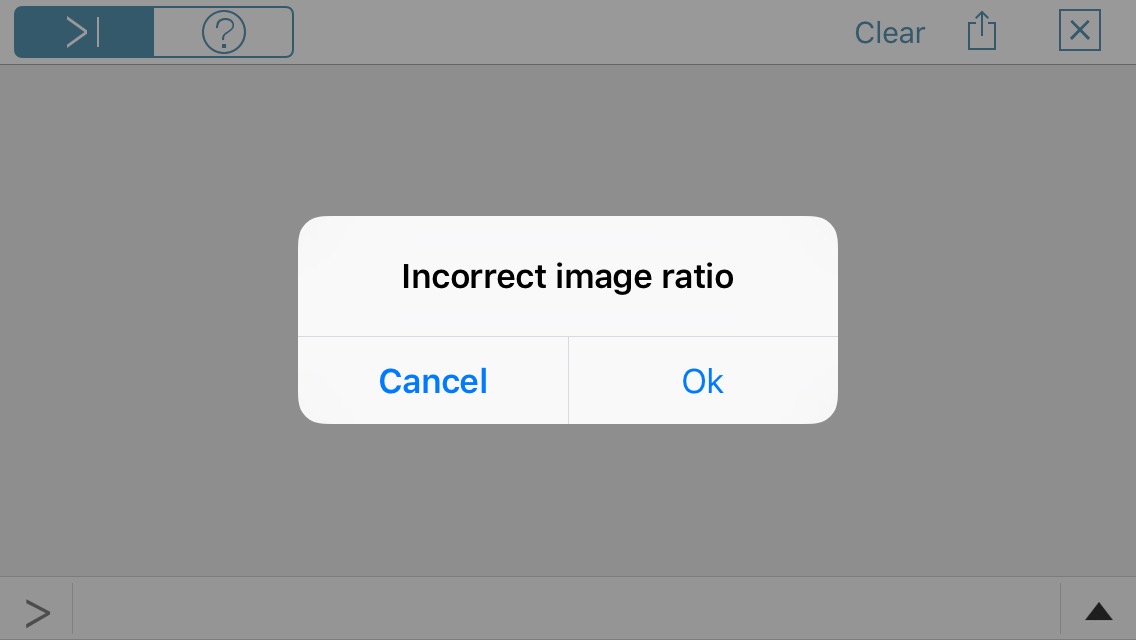
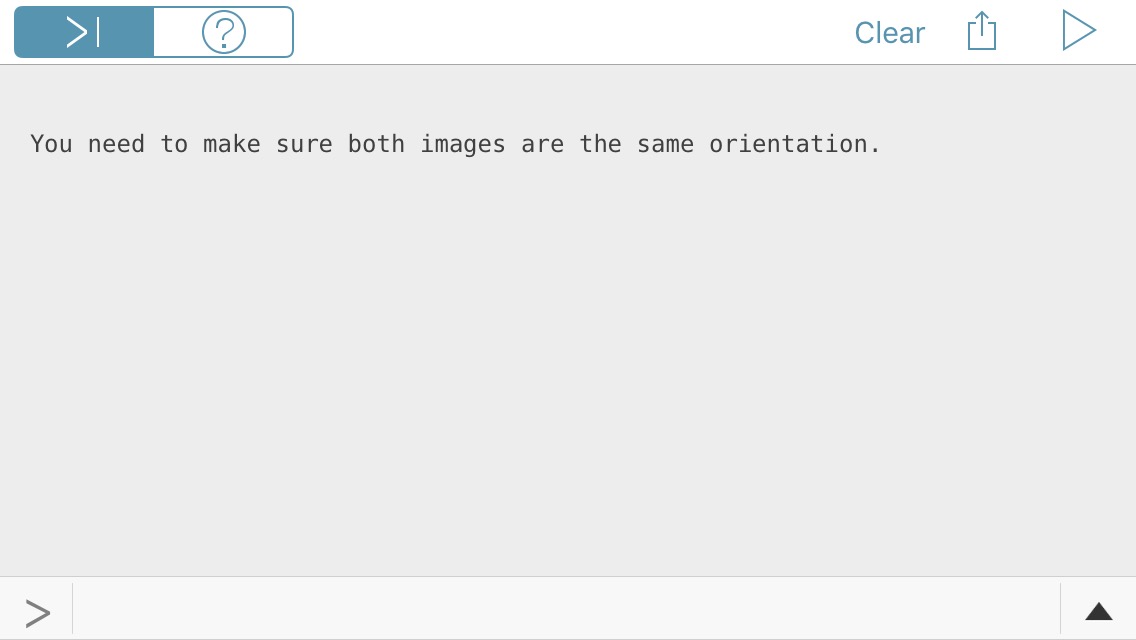
Photo capture script
# Prompts user to take 2 pictures and merges the two images together
import clipboard
import Image
import console
import photos

console.clear()

console.alert("Take first image", "", "Ok")
img1=photos.capture_image()

console.alert("Take second image", "", "Ok")
img2=photos.capture_image()

console.show_activity()

w1,h1 = img1.size
w2,h2 = img2.size

# Set the width and height of each image
img1_w = img1.size[0]
img1_h = img1.size[1]
img2_w = img2.size[0]
img2_h = img1.size[1]

def image_merge(img):
    if (img1_w*1.0)/img1_h > 1:
        print 'Landscape screenshot...'
        background = Image.new('RGB', ((img1_w+20), ((img1_h*2)+30)), (255,255,255))
        print "Generating image..."
        background.paste(img1,(10,10))
        background.paste(img2,(10,(img1_h+20)))
        photos.save_image(background)
        print "Image saved"
    else:
        print 'Portrait screenshot...'
        background = Image.new('RGB', (((img1_w*2)+30),(img1_h+20)), (255, 255, 255))
        print "Generating image..."
        background.paste(img1,(10,10))
        background.paste(img2,((img1_w+20),10))
        photos.save_image(background)
        print "Image saved"

if img1_w == img2_w:
    image_merge(img1)
else:
    console.alert("Incorrect image ratio", "", "Ok")
When the script is done it leaves you at the console in Pythonista. There are plenty of options of where you can take it from there - open Photos, sftp image, etc.
Script options
You can edit the RGB setting to change the color of the merged image border. The default setting is to have a white (RGB 255, 255, 255) background.
background = Image.new('RGB', ((img1_w+20), ((img1_h*2)+30)), (255,255,255))
You can change this to something simple like (0,0,0) to make the background black.
background = Image.new('RGB', ((img1_w+20), ((img1_h*2)+30)), (0,0,0))
Now the merged images have a small black border around them.
